Why You’ll Love This Recipe
- A useful balance of flavors. Cream cheese provides richness, and the seasonings give you several ways to balance it when tasting.
- Straightforward equipment. A small oven-safe dish, mixing bowl, and fork handle the main preparation.
- An adaptable serving format. Spoon it into a bowl for dipping or use a thinner layer as a spread.
- Easy portioning for entertaining. Divide the finished dip between small bowls so you can replenish the table as needed.
Yield: 6 servings
Prep time: About 10 minutes
Roasting time: 25–30 minutes
Total time: About 35–40 minutes, plus brief cooling
Ingredients You’ll Need
For the Garlic
- Cloves from 2 heads garlic, peeled
- 2 tablespoons sesame seeds
- ½ cup olive oil (120 ml), enough to cover the garlic and seeds in a small dish
- 1 rosemary sprig
For the Dip
- 7 ounces cream cheese (200 g)
- 1 tablespoon mayonnaise
- 3 tablespoons finely grated Parmesan
- 1 teaspoon honey
- Juice of ½ lemon
- 2 tablespoons chopped fresh chives
- Salt and black pepper, to taste
- Chili flakes, optional, to taste
For Garnishing
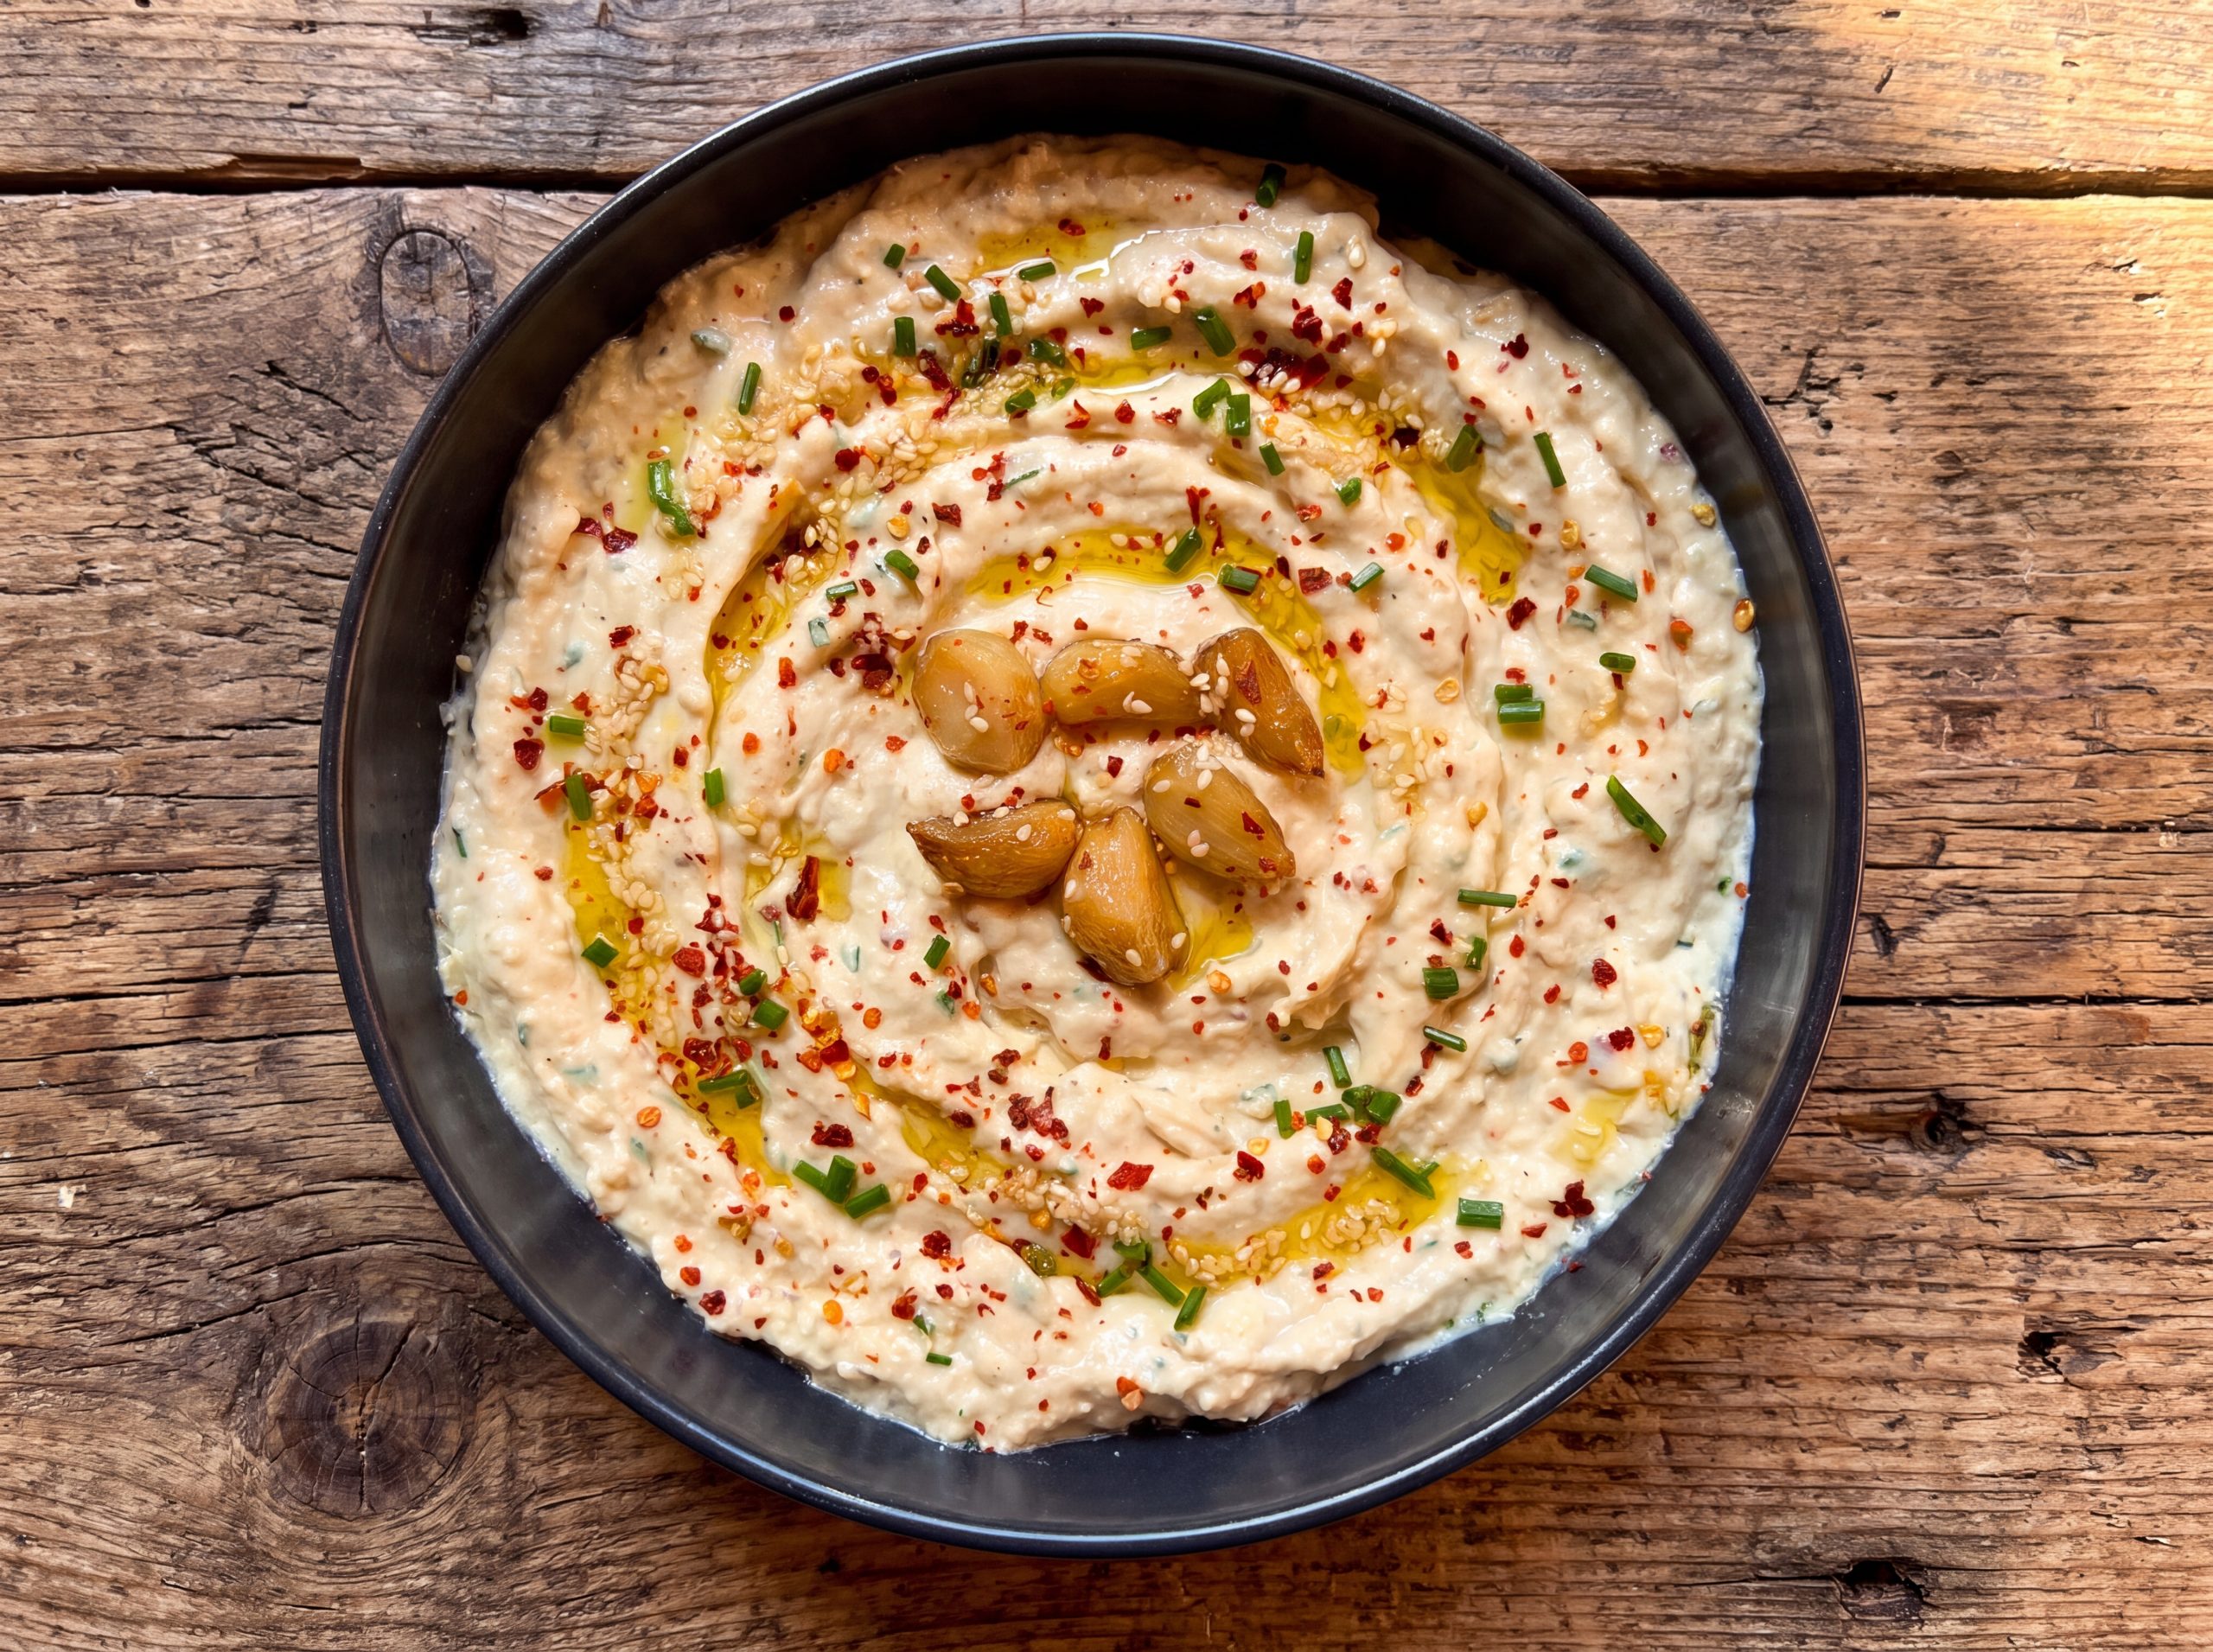
- Reserved roasted garlic cloves
- Fresh chives
- Chili flakes, optional
- A drizzle of reserved garlic-sesame roasting oil
Choose firm garlic heads without mold or shriveled cloves. Finely grated cheese distributes more evenly than thick shreds, especially when you are mixing by hand. Keep the garnish cloves aside from the roasted batch; you do not need to roast an additional head.
How to Make Roasted Garlic Dip
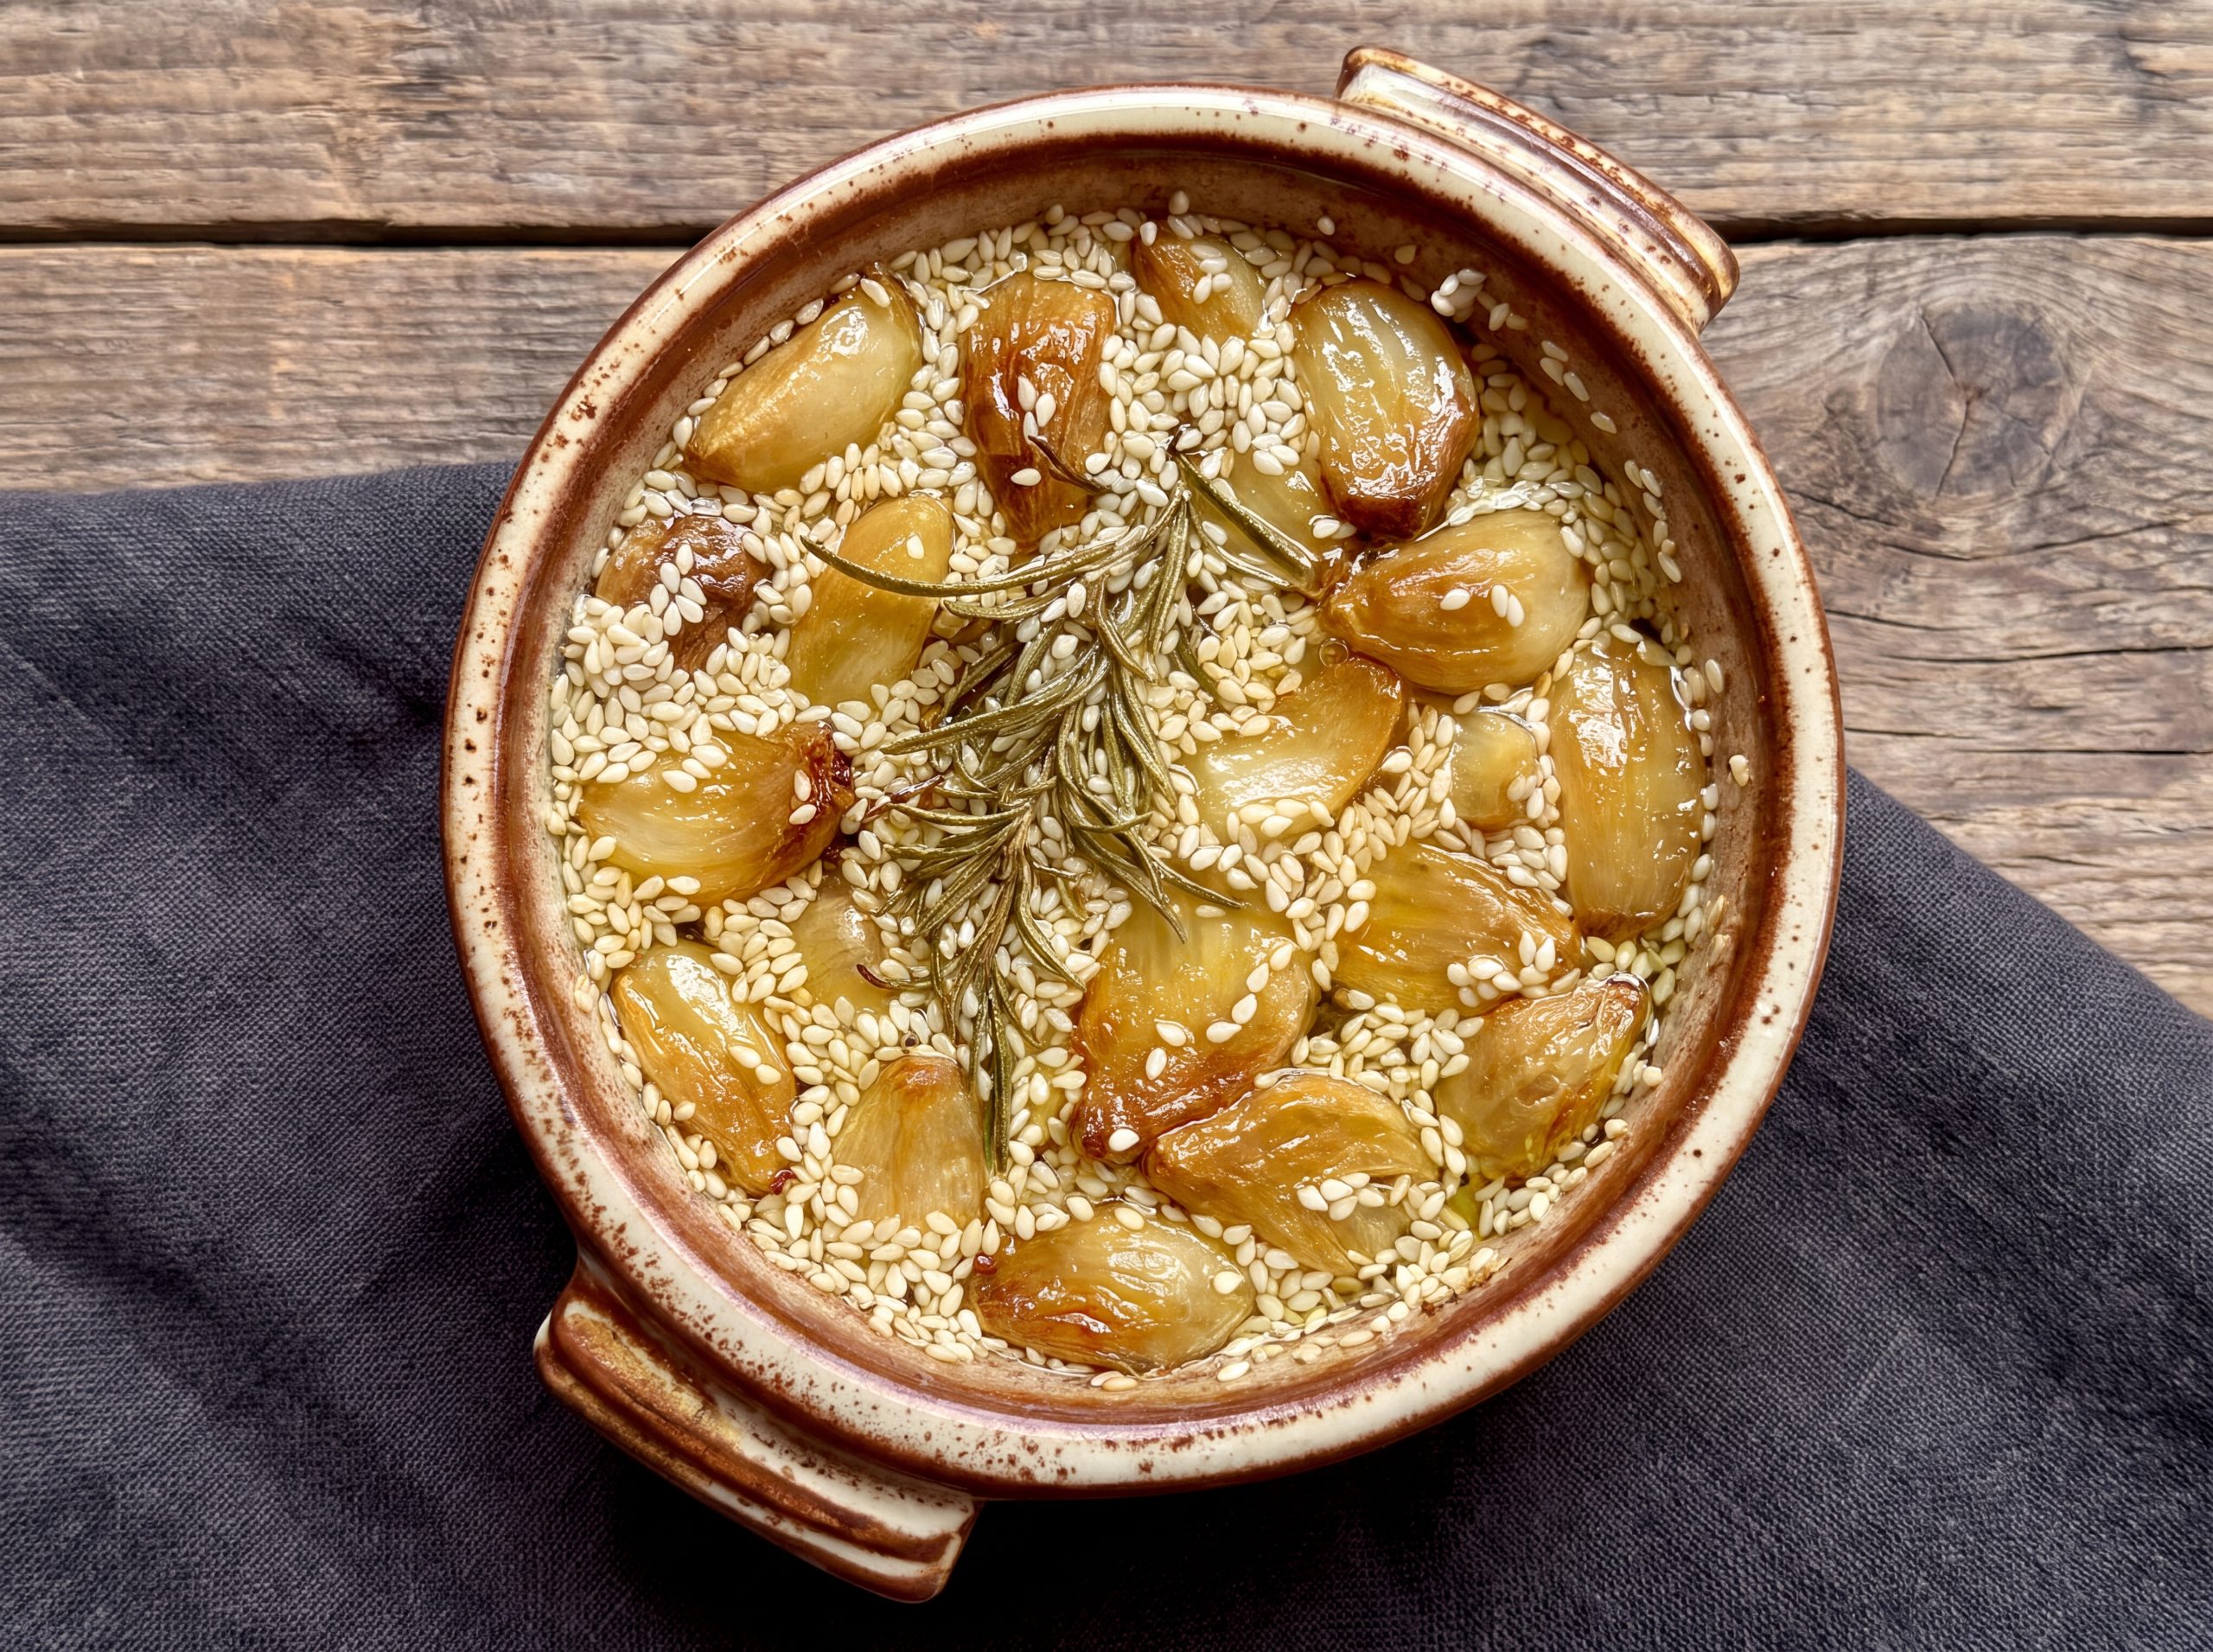
- Prepare the oven and dish. Preheat to 356°F (180°C). Put the peeled garlic, sesame seeds, and rosemary in a small baking dish. Add the olive oil to cover.
- Roast. Cook for 25–30 minutes, until the cloves are tender and golden. Let cool briefly.
- Combine. Remove the rosemary. Lift the garlic and sesame from the oil into a bowl, reserving some cloves and the oil for garnish. Add the dip ingredients.
- Mash and finish. Work together with a fork. Spoon into a serving bowl and garnish with the reserved cloves, chives, optional chili, and a little roasting oil.
Before removing the baking dish, press a clove with a fork. It should yield easily. Garlic cloves vary in size, so tenderness is a more useful finishing cue than color alone. If a clove still feels firm at the end of the stated time, continue checking until it softens rather than trying to mash it into the cheese.
Helpful Tips for the Best Results
Use a Dish That Fits the Garlic
A wide dish spreads the oil into a shallow layer. A snug dish helps the measured oil surround the cloves. Arrange the ingredients before pouring so you can judge the fit without immediately reaching for more oil.
Make Hand Mixing Easier
Cream cheese straight from the refrigerator can resist the fork and remain in lumps. Let it soften just enough to stir while you prepare the other ingredients, keeping its time outside refrigeration brief. Scrape the bowl as you mix so the seasonings reach the cheese at the bottom.
Taste with Your Intended Dipper
Try a small amount on the bread or cracker you plan to serve. A salty cracker changes the overall bite, so it is worth checking before adding more salt. Stir thoroughly between adjustments; seasoning one area of the bowl can give you a misleading taste.
Add the Finishing Oil Sparingly
Use a light drizzle for the surface. The oil is a finishing accent, and pouring in all the remaining roasting oil would change the consistency substantially. Keep the rest separate and refrigerate it promptly.
Serving Suggestions
Choose dippers that can support a thick spread. Toasted pita wedges, breadsticks, and sturdy crackers are practical choices. For a vegetable platter, bell pepper strips and celery offer a crisp contrast.
You can also spread a modest amount inside a roasted vegetable sandwich or spoon some beside baked potatoes. Start with a small portion so the garlic flavor complements the rest of the meal.
For a gathering, put out a small serving bowl and keep the remainder refrigerated. Refill with a clean bowl and utensil rather than continually topping up a bowl that has been sitting out.
Storage and Reheating
Refrigerate the dip promptly in a covered container at 40°F or below, and use within 3–4 days. Label it with the preparation date so you can track that window easily.
Refrigerate any reserved garlic oil immediately and use within four days. Homemade garlic-in-oil mixtures should not be stored on the counter. Freeze the oil if you need to keep it longer.
Limit time outside refrigeration to two hours, or one hour when the temperature is above 90°F. This includes preparation and serving time.
Reheating is unnecessary for this preparation. Stir the refrigerated dip before serving. For a less firm texture, take out only the portion you plan to eat and let it soften briefly while you arrange the accompaniments.