I’ll be honest, I almost didn’t make this one. I’ve got a drawer full of “old family recipe” printouts that all promise to be life-changing, and most of them are fine. Just fine. This one wasn’t fine. This one had my husband asking if there were seconds before he’d even finished his first plate, and my kids — who pick apart anything with “steak” in the name — cleaned their plates without a single complaint about mushrooms.
The secret, if you can call it that, is saltine crackers. Not breadcrumbs, not oats, saltines, soaked right in milk before they go into the beef. It’s an old Pennsylvania Dutch trick, and once you try it you’ll wonder why anyone bothers with dry breadcrumbs at all. The crackers soak up milk like a sponge and turn the patties almost meatloaf-tender, but you still get that seared, crusty edge because you brown them in a skillet before they ever see the oven. Then the whole thing gets smothered in a mushroom gravy and baked until it’s bubbling and the house smells like your grandmother’s kitchen.
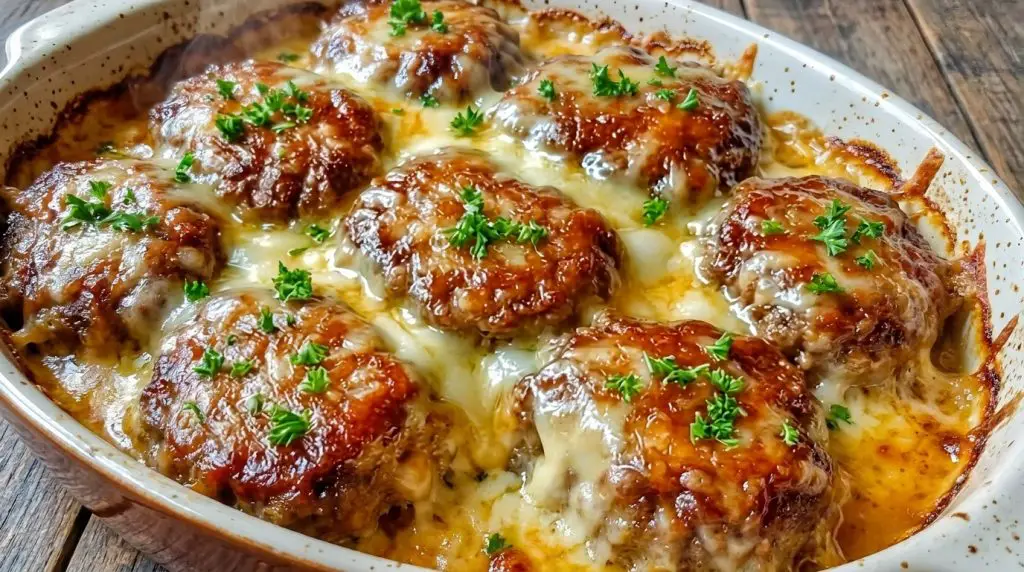
This isn’t a fussy recipe. It’s ground beef, some pantry staples, and a can of soup, and somehow it turns into something that tastes like it took all day.
Why I Keep Coming Back to This One
I’ve made a lot of hamburger steak recipes over the years and this is the one that stuck. A few reasons why, if you’re wondering whether it’s worth the skillet you’ll have to wash afterward:
- The soaked-cracker trick actually works. I was skeptical the first time — it felt like a shortcut that couldn’t possibly beat breadcrumbs. It beats breadcrumbs.
- Searing the patties first isn’t optional in my book. Yes, it’s an extra step and yes, it dirties another pan, but that crust is half the flavor of the dish. Skip it and you’ve basically made a sad, pale meatball casserole.
- The gravy keeps everything from drying out, even if you’re the type of cook (like me) who sometimes forgets things are in the oven for an extra ten minutes.
What You’ll Need
This makes eight patties, which is usually enough for my family of five with a little left over for lunch the next day. Adjust up or down depending on how many mouths you’re feeding.
The Hamburger Steaks
| Ingredient | Amount |
|---|---|
| Ground beef (80/20 works best) | 2 pounds |
| Saltine crackers, crushed | 1 1/2 cups |
| Whole milk | 1 cup |
| All-purpose flour, for dredging | 1/2 cup |
| Onion powder | 1 teaspoon |
| Garlic powder | 1 teaspoon |
| Italian seasoning | 1 teaspoon |
| Cayenne pepper | Just a pinch |
| Oil, for browning | About 1 1/2 tablespoons |
| Salt and black pepper | To taste |
The Gravy
| Ingredient | Amount |
|---|---|
| Cream of mushroom soup | 1 can (10.5 oz) |
| Whole milk | 1 cup |
| Worcestershire sauce | 1 tablespoon, optional but I always add it |
A note on the beef: don’t reach for the lean stuff here. The fat is doing real work keeping these patties juicy through two cooking stages. If 80/20 isn’t available, 85/15 will do, but add a splash more milk to the mix to compensate.
How to Make It
1. Preheat and prep your dish. Get your oven going at 350°F. Grease a 9×13 baking dish with butter or nonstick spray so the gravy doesn’t weld itself to the corners later — trust me, you don’t want to be scrubbing that off.
2. Mix the meat. In a big bowl, combine the beef, crushed saltines, milk, and all the seasoning. Use your hands, but be gentle about it. I know it’s tempting to really work it in, but the more you handle ground beef the tougher it gets. Mix just until it’s holding together, then stop. Shape into eight patties, about half an inch thick each. They don’t need to be perfect circles — mine never are.
3. Flour and brown them. Dredge each patty lightly in flour, shaking off anything extra. Heat your oil in a big skillet over medium-high and sear the patties in batches, two to three minutes a side, until they’ve got a nice golden crust. They won’t be cooked through yet, and that’s fine — they finish in the oven. Move them into your baking dish as they’re done.
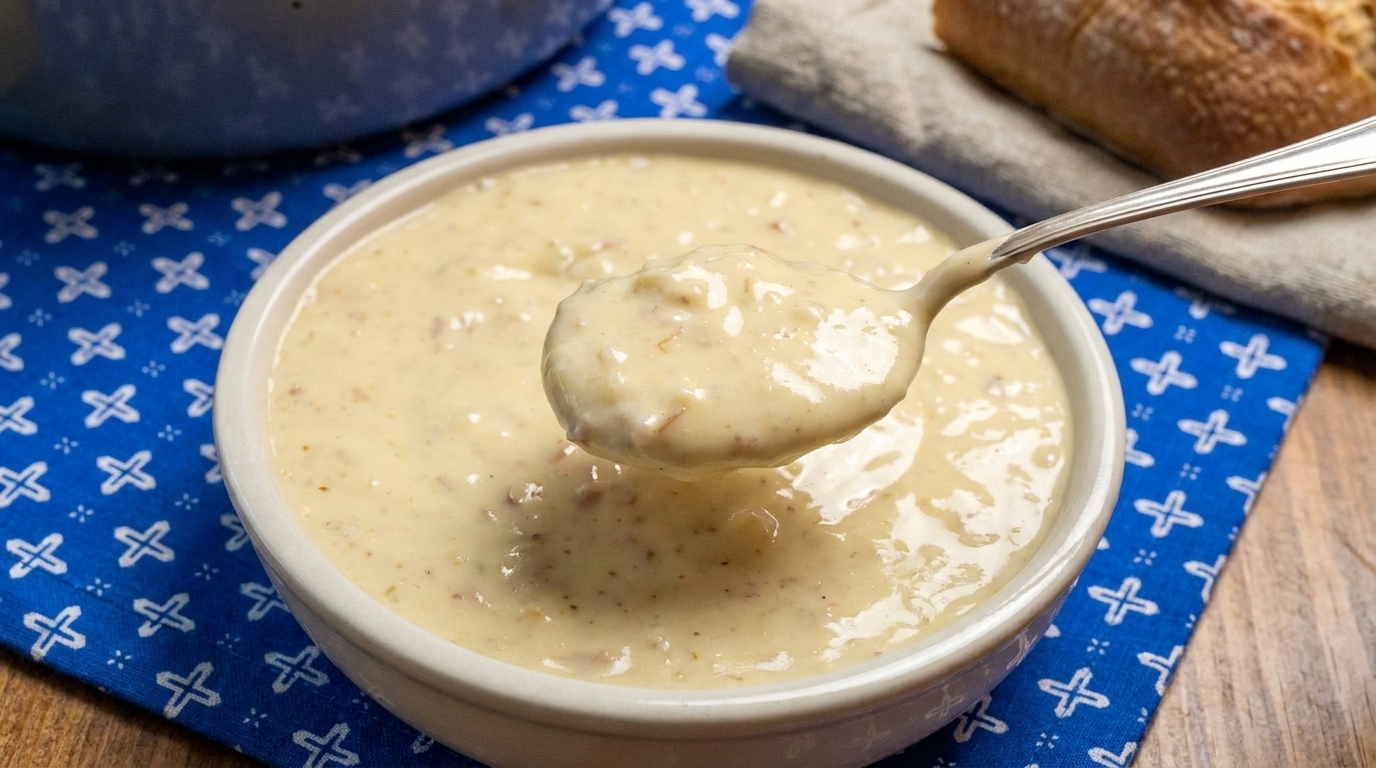
4. Whisk up the gravy. In a separate bowl, stir together the soup, the second cup of milk, and the Worcestershire if you’re using it (I always am). Pour it right over the patties in the dish, spreading it around so everyone gets covered.
5. Bake. Cover tightly with foil and bake for 30 minutes. Then pull the foil off and let it go another 10 to 15 minutes, until the gravy’s bubbling and the patties hit 160°F inside. I always check with a meat thermometer because eyeballing thick patties is a good way to end up with a raw center.
6. Let it sit. Give it five minutes out of the oven before you serve it. I know that’s the hardest part when the kitchen smells this good, but the gravy thickens up during that rest and the meat holds its juices better if you don’t cut into it right away.
A Few Things I’ve Learned Doing This More Than Once
- Crush your crackers finely, but don’t turn them into powder. You want them fine enough to blend in but with a little texture left.
- Don’t skip browning the patties, even if you’re in a hurry. It’s genuinely the difference between “good” and “why does this taste like a restaurant.”
- A meat thermometer is worth the five bucks. These patties are thick enough that color alone won’t tell you if they’re done.
- If your gravy looks thin right out of the oven, don’t panic. It thickens as it sits.
Ways to Switch It Up
I stick to the original most weeks, but here’s what I’ve tried when I wanted something different:
- Swap the soup. Cream of chicken or cream of celery both work if mushroom isn’t your thing.
- Toss in real mushrooms. Sauté some sliced mushrooms in the same skillet after searing the patties, then stir them into your gravy for extra bite.
- Melt some cheese on top. Cheddar or Colby jack scattered over the patties in the last five minutes of baking never hurts anything.
- Cut the carbs. Crushed pork rinds instead of saltines, and skip the flour dredge. It’s a different texture but it works if you’re watching carbs.
- Add vegetables. Sliced onions or baby carrots tucked in around the patties soften up nicely in all that gravy.
What to Serve Alongside
This dish practically demands mashed potatoes — all that gravy needs somewhere to go. Buttered egg noodles or plain rice work too. If you want to lighten the meal a little, a simple salad or some steamed green beans balances it out.
Storing Leftovers (If You Have Any)
Let it cool before you put it away, then keep it in an airtight container in the fridge for up to four days. Reheat gently, either in a covered skillet on low or in the microwave in short bursts, and add a splash of milk if the gravy’s thickened up too much. It also freezes well for a few months — thaw it in the fridge overnight before reheating.
Questions I Get Asked About This Recipe
Can I make it ahead? Yes, and I do this often on busy weeks. Form and sear the patties, then keep them covered in the fridge for up to a day before adding the gravy and baking.
Can I use ground turkey instead? You can, though it won’t be quite as rich. Turkey’s leaner, so add a bit more milk to the mixture to keep things moist, and remember poultry needs to hit 165°F, not 160°F.
My patties fell apart on me — what happened? Probably one of two things: the meat got overworked when you mixed it, or the patties got flipped too early in the skillet. Give them the full two to three minutes per side before you touch them again.
Do I really have to brown them first? No, you can skip straight to the gravy and bake if you’re short on time. It’ll still taste good, just softer and without that deeper, browned flavor. I only skip this step on my most chaotic weeknights.
Does this freeze well? It does. I usually freeze the seared, un-gravied patties separately from the sauce and put it all together fresh when I’m ready to bake.
Last Thoughts
This is one of those recipes that doesn’t look like much on paper — ground beef, crackers, a can of soup — but somehow adds up to more than the sum of its parts. Once you try the milk-soaked cracker trick, it’s hard to go back to plain breadcrumbs for anything. Give it a shot on a night you want dinner to feel a little more like a hug.